
This article explains how to setup an OpenSTLinux/Openembedded/Yocto Project build system for the STM32MP13 lines, the ST’s most cost-efficient MPUs for industrial and secure applications.
![]()
This could be useful if you want to understand how the Linux operating system is generated for the ST hands-on workshop where you will learn how to use the new ST bare metal software package to ease hardware testing, so that you can quickly get started with your own STM32MP13 prototypes.
ST hands-on workshop 2023
Please note that the ST hands-on workshop attendees will be required to bring their own laptops to the training. They will require administrator rights to be able to install the workshop tools and material prior to the training.
- Milan – July 4, 2023 (KOAN team on site)
- London – July 11, 2023
- Barcelona – July 13, 2023
- Munich – July 20, 2023
- Paris – September 12, 2023
- Aarhus – September 14, 2023
OpenSTLinux and Openembedded
Like many silicon vendors, also ST uses the Openembedded project, renaming it with a custom name and in this case the system is called OpenSTLinux.
![]()
OpenSTLinux is a Linux distribution based on the Openembedded build framework.
Openembedded is also the core component of the Yocto Project, but Yocto Project is not used in this case even the usage and all the technical details adopted here are almost the same
It includes the following collection of software components:
- OpenSTLinux BSP (OP-TEE secure OS, boot chain and Linux kernel)
- Application frameworks such as the following Linux application frameworks (non-exhaustive list):
- Wayland-Weston as a display/graphic framework
- Gstreamer as a multimedia framework
- Advanced Linux Sound Architecture (ALSA) libraries
Distro setup
Make sure your Build Host meets the following requirements:
- At least 90 Gbytes of free disk space, though much more will help to run multiple builds and increase performance by reusing build artifacts.
- At least 8 Gbytes of RAM, though a modern modern build host with as much RAM and as many CPU cores as possible is strongly recommended to maximize build performance.
- Runs a supported Linux distribution (i.e. recent releases of Fedora, openSUSE, CentOS, Debian, or Ubuntu).
- For a list of Linux distributions that support the Yocto Project, see the Supported Linux Distributions section
in the Yocto Project Reference Manual. - For detailed information on preparing your build host, see the Preparing the Build Host section in the Yocto Project Development Tasks Manual.
Specific requirements:
- Git 1.8.3.1 or greater
- tar 1.28 or greater
- Python 3.8.0 or greater
- gcc 8.0 or greater
Lubuntu setup
A typical compliant distro could be Ubuntu 20.04 or Ubuntu 22.04. The suggested by KOAN is Lubuntu 22.04.
Thanks to all the hard work from our contributors, Lubuntu 22.04 LTS has been released.
With the codename Jammy Jellyfish, Lubuntu 22.04 is the 22nd release of Lubuntu, the eighth release of Lubuntu with LXQt as the default desktop environment.
Lubuntu 22.04 LTS will be supported for 3 years until April 2025. Our main focus will be on this and future releases.
After the Lubuntu installation , the following command installs the host packages based on an Lubuntu distribution:
Essential Yocto/Openembedded packages
$ sudo apt install gawk wget git diffstat unzip texinfo gcc build-essential \
chrpath socat cpio python3 python3-pip python3-pexpect xz-utils debianutils \
iputils-ping python3-git python3-jinja2 libegl1-mesa libsdl1.2-dev \
python3-subunit mesa-common-dev zstd liblz4-tool file locales
Packages needed for particular purposes and to build Yocto documentation
$ sudo apt install curl ssh tree meld geany \
make xsltproc docbook-utils fop dblatex xmlto
Required packages for ST Linux Distrib
$ sudo apt install bsdmainutils build-essential chrpath cpio debianutils diffstat gawk gcc-multilib \
git iputils-ping libegl1-mesa libgmp-dev libmpc-dev libsdl1.2-dev libssl-dev lz4 \
pylint python3 python3-git python3-jinja2 python3-pexpect python3-pip socat texinfo unzip wget xterm xz-utils zstd
Other settings
$ sudo locale-gen en_US.UTF-8
Python workaround
If you have issues using python please tun the following command:
sudo ln -fs /usr/bin/python3 /usr/bin/python
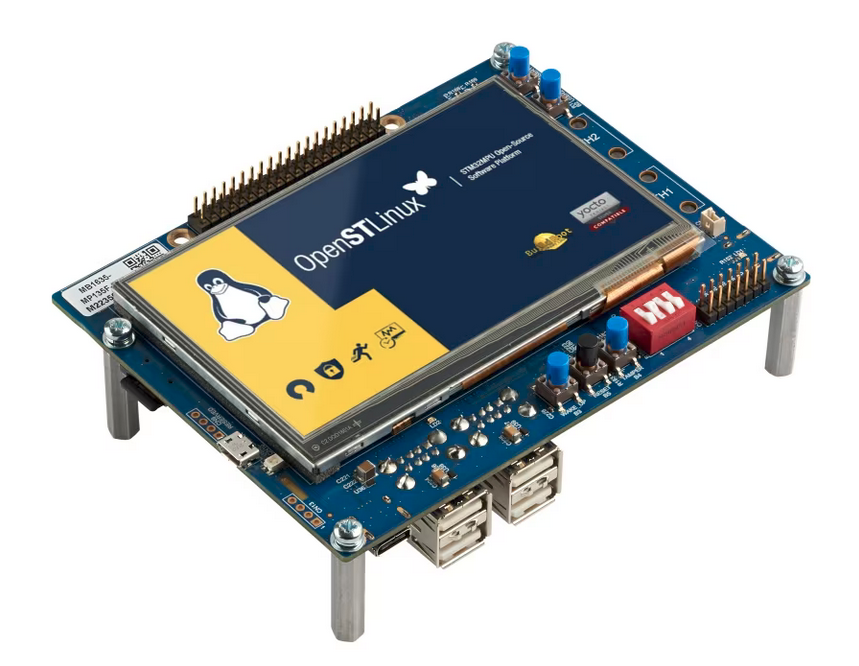
STM32MP135F-DK board
Explore the features of the STM32MP13 with the complimentary STM32MP135F-DK board.
Setting up the repo utility
Repo is a tool built on top of Git that makes it easier to manage projects that contain multiple repositories, which do not need to be on the same server. Repo complements very well the layered nature of the Yocto Project, making it easier for users to add their own layers to the BSP.
To install the “repo” utility, perform these steps:
1. Create a bin folder in the home directory.
$ mkdir ~/bin (this step may not be needed if the bin folder already exists)
$ curl http://commondatastorage.googleapis.com/git-repo-downloads/repo > ~/bin/repo
$ chmod a+x ~/bin/repo
2. Add the following line to the .bashrc file to ensure that the ~/bin folder is in your PATH variable.
Git client Setup
First make sure that git is setup properly with the commands below.
$ git config --global user.name "Your Name"
$ git config --global user.email "Your@Email.com"
$ git config --list
OpenSTLinux build system installation
This ST Ecosystem 6.1 build is equivalent to an Openembedded installation for a Mickledore 4.2 version.
$ repo init -u https://github.com/STMicroelectronics/oe-manifest.git -b refs/tags/openstlinux-6.1-yocto-mickledore-mp1-v23.06.21
$ repo sync -j8
First setup (run once)
$ DISTRO=openstlinux-weston MACHINE=stm32mp13-disco source layers/meta-st/scripts/envsetup.sh
All the next setup
$ DISTRO=openstlinux-weston MACHINE=stm32mp13-disco source layers/meta-st/scripts/envsetup.sh
OpenSTLinux build
Now you can build one of the following targets:
$ bitbake st-image-core
$ bitbake st-image-core -c populate_sdk
$ bitbake st-image-weston
Output
At this point you should see in the terminal the following messages
Build Configuration:
BB_VERSION           = "2.4.0"
BUILD_SYS            = "x86_64-linux"
NATIVELSBSTRING      = "universal"
TARGET_SYS           = "arm-ostl-linux-gnueabi"
MACHINE              = "stm32mp13-disco"
DISTRO               = "openstlinux-weston"
DISTRO_VERSION       = "4.2.1-snapshot-20230703"
TUNE_FEATURES        = "arm vfp cortexa7 neon vfpv4 thumb callconvention-hard"
TARGET_FPU           = "hard"
DISTRO_CODENAME      = "mickledore"
ACCEPT_EULA_stm32mp1 = "0"
GCCVERSION           = "12.%"
PREFERRED_PROVIDER_virtual/kernel = "linux-stm32mp"
meta-python
meta-oe
meta-gnome
meta-initramfs
meta-multimedia
meta-networking
meta-webserver
meta-filesystems
meta-perl            = "HEAD:c032fd0b1a9d444711103c2703dfa8e2964a3865"
meta-st-stm32mp      = "HEAD:931b3f5be2c00f55d114c8f9122082a9d229b776"
meta-qt5             = "HEAD:cf6ffcbad5275a3428f6046468a0c9d572e813d1"
meta-st-openstlinux  = "HEAD:8c780facff81d3c3878c5fdcd18bdd24fc36478d"
meta                 = "HEAD:20cd64812d286c920bd766145ab1cd968e72667e"
Final image
The final image artifacts will be located in the deploy directory
$ ls ../build-openstlinuxweston-stm32mp1/tmp-glibc/deploy/images/stm32mp1/
Board programming
Refer to STM32CubeProgrammer article to know how to use the STM32CubeProgrammer that is the official STMicroelectronics tool for creating partitions into any Flash device available on STM32 platforms.
You can program the microSD on your PC with the following commands:
$ cd /tmp-glibc/deploy/images/stm32mp13-disco
$ sudo scripts/create_sdcard_from_flashlayout.sh  flashlayout_st-image-weston/extensible/FlashLayout_sdcard_stm32mp135f-dk-extensible.tsv
$ sudo dd if=FlashLayout_sdcard_stm32mp135f-dk-extensible.raw of=/dev/sdX bs=4M conv=fdatasync status=progress